
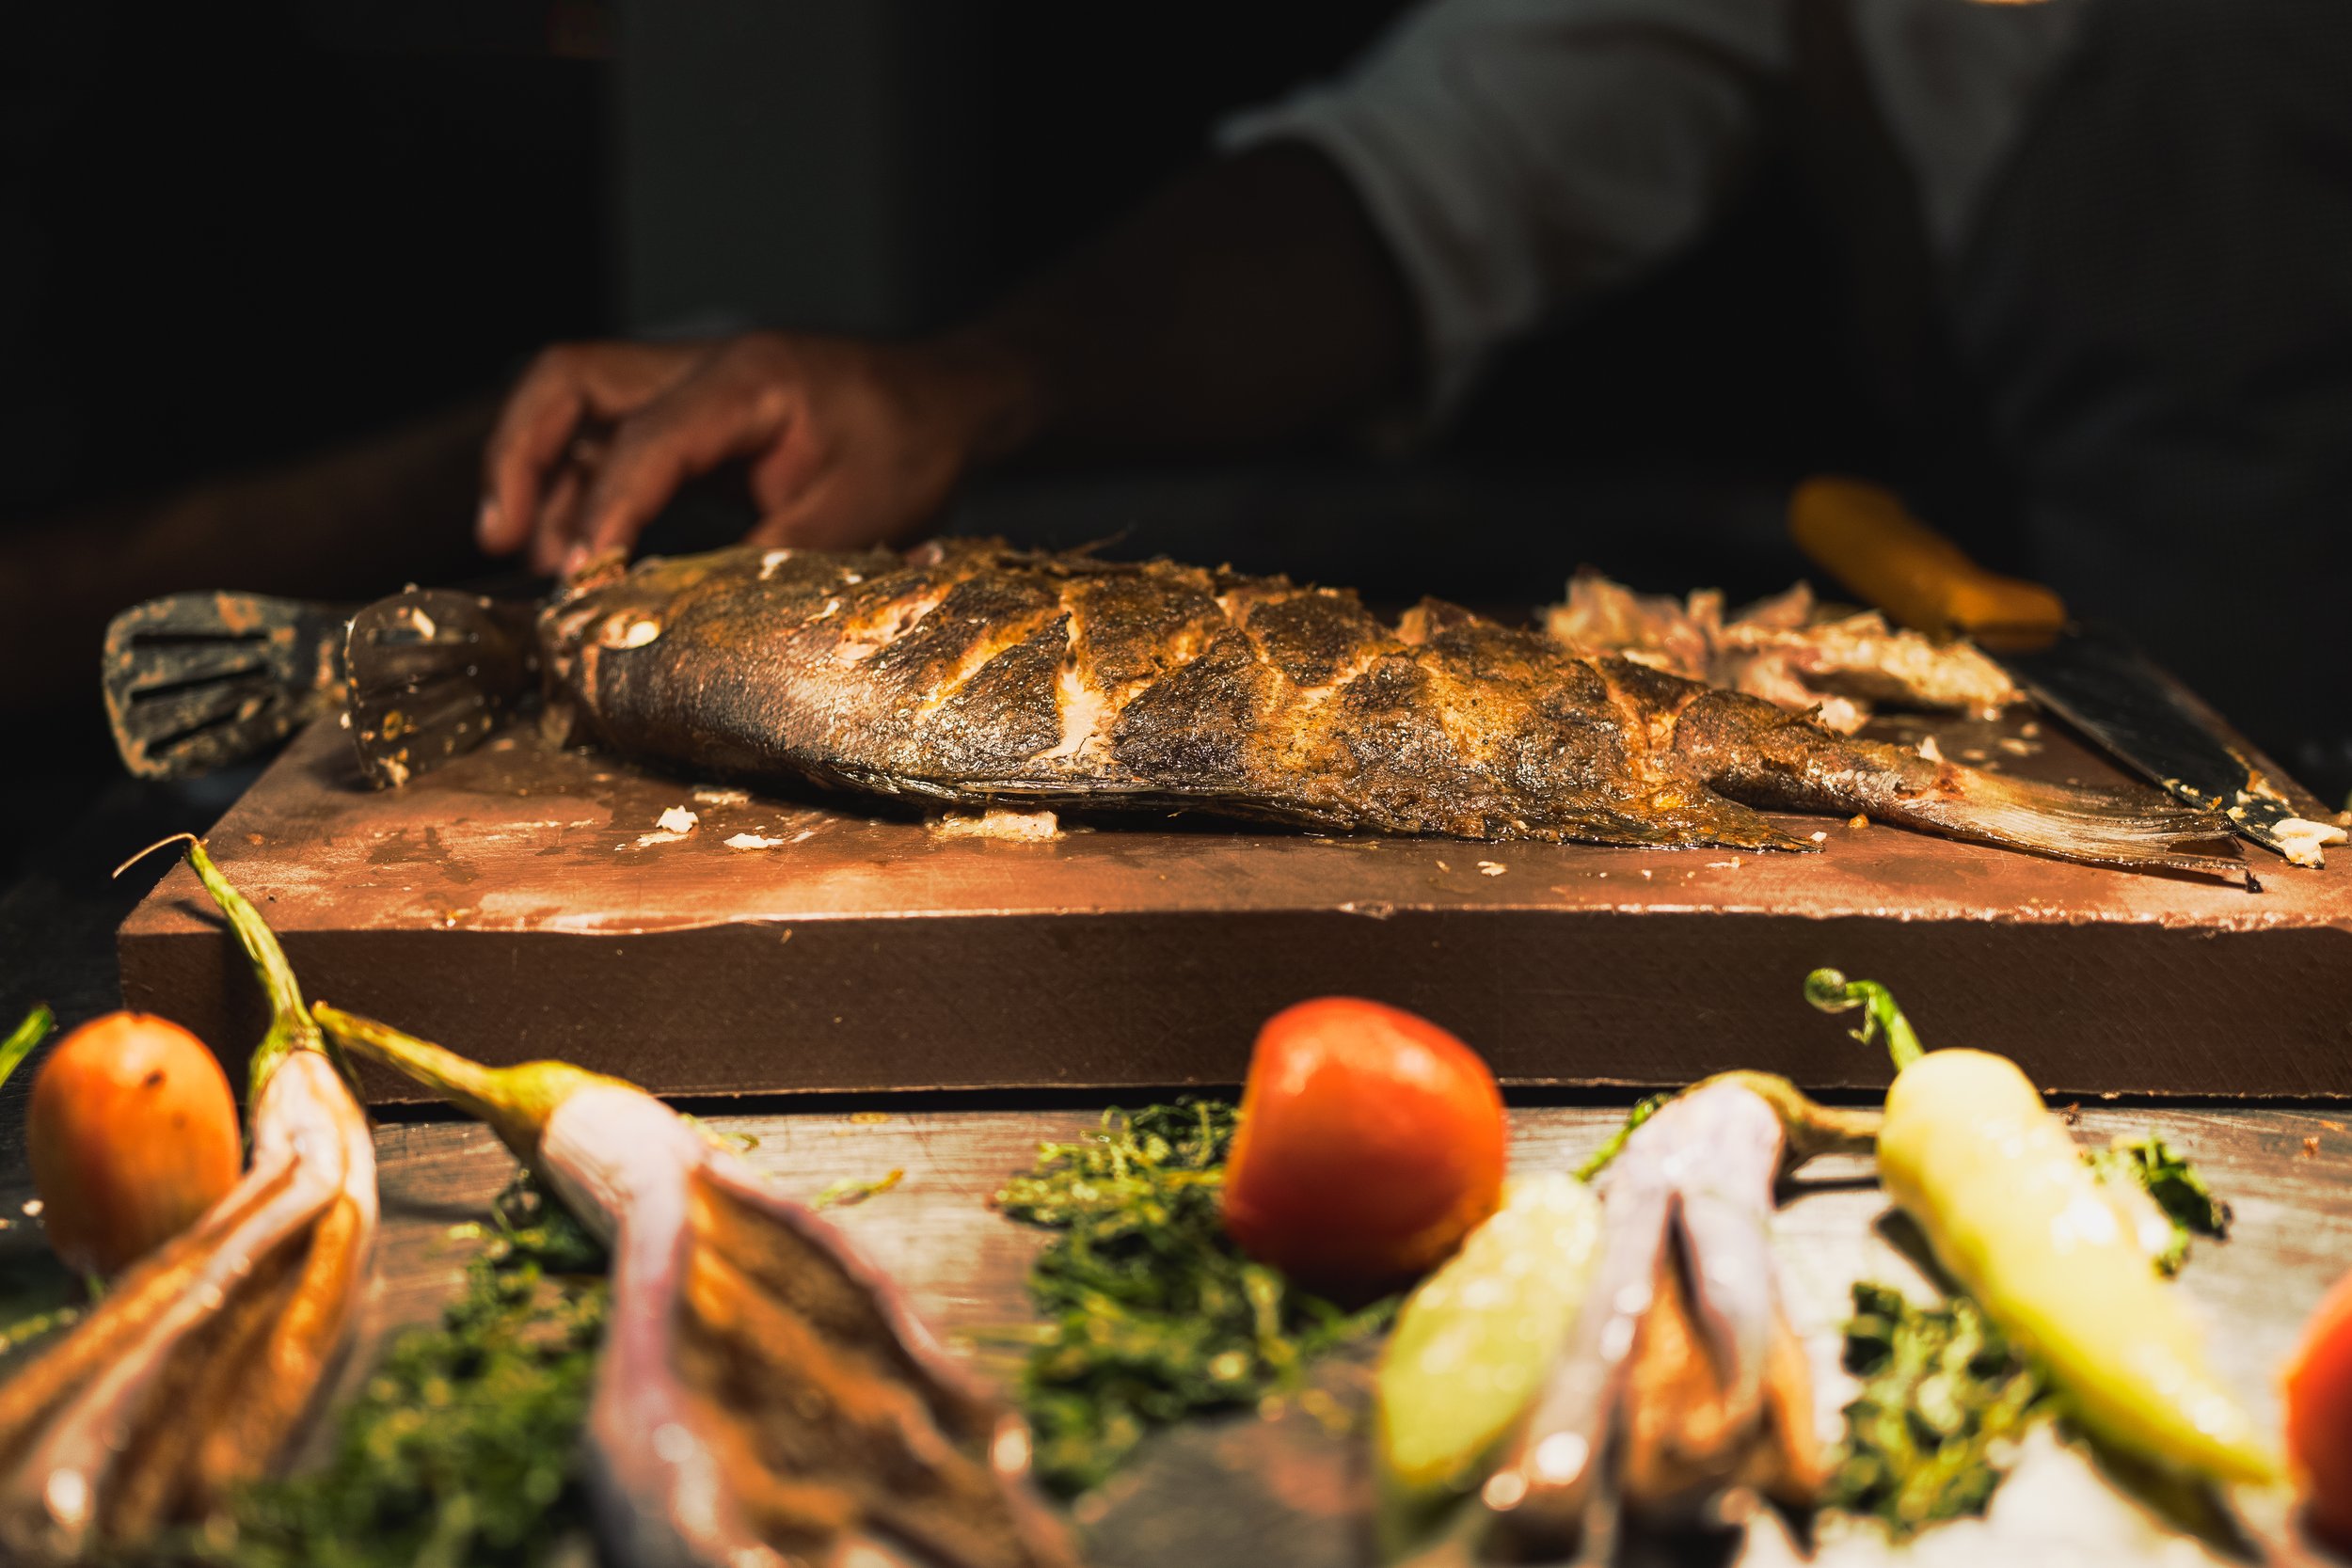
A well lit kitchen bench in a 5 star hotel in Sri Lanka displaying grilled fish and vegetables in the foreground
Five food-photography lighting decisions
Food lighting is easier to assess when you change one thing at a time. Start with the dish, the texture you want to show and the way the photograph will be used. Then compare these five decisions:
Direction: move the light around the dish and watch the texture and reflections.
Modifiers: compare diffusion, reflected fill and negative fill.
Light source: choose daylight, continuous light or flash for the work you need to do.
Size and distance: check shadow edges separately from brightness.
Flags: block unwanted light and refine the balance between light and shade.
The examples below are starting points for testing, not fixed recipes for every dish.
| Tool | What to test |
|---|---|
| Diffuser | Shadow-edge transition and the area of the source actually illuminated |
| White card | Reflected fill on the shadow side |
| Dark card or flag | Reduced reflected fill or a specific blocked-light area |
| Continuous light | The visible lighting pattern and the result in a test frame |
Begin with one light and a simple subject. Make a reference photograph before adding a modifier, then compare the result after each change.
Easiest Food Photography Lighting Techniques

Directional Light for Better Texture
Choose light direction by comparing texture, form and highlights on the actual dish.
Test Backlight for Translucency and Highlights
Move the light behind or behind-and-to-one-side of the dish and assess the result from the camera position. Backlight can reveal translucent ingredients and create edge highlights, but it can also leave the front too dark or produce distracting reflections. Adjust the angle and add fill only where it helps.
Test Sidelight for Texture
Light from the side can reveal surface relief through highlights and shadows. Compare a small change in direction before changing the food, camera or styling. Frontal light is another creative option; it is not universally wrong.
“Choose light direction for the texture and reflections you want, then judge the result from the camera position.”
| Subject | Useful comparison |
|---|---|
| Pastry or textured bread | Side light from different directions; compare the relief of the surface |
| Grilled food | Light direction and the balance between highlight and shadow |
| Translucent ingredients | Back or side-back light; check the front and edge highlights |
Keep the Setup Adjustable
Use secure supports that let you change the light’s height and direction without disturbing the plate. A white card can return some light into a dark area; move and angle it while watching the photograph rather than placing it at a fixed fraction of the lamp’s distance.
Keep stands, cables and modifiers clear of food preparation and service routes. Check the equipment manufacturer’s instructions for support, ventilation and clearance.

Light Modifiers: Diffusers and Reflectors
Use modifiers to adjust shadow edges, reflected fill and spill after choosing the light direction.
Diffusion and Shadow Edges
A diffuser sits between the light and the dish. The area actually illuminated, its apparent size from the subject and its position all affect the result. Judge softness by the shadow edge, not simply by how bright the photograph looks.
A larger apparent source generally produces a softer shadow transition. Broncolor explains hard, soft and diffused lightwith lighting examples. Follow equipment guidance on heat and clearance; do not put improvised paper or fabric against a lamp.
Reflected Fill and Negative Fill
Try a white card opposite the main light, then remove it and compare the shadow side. A dark card can reduce unwanted reflected fill. Rachel Korinek’s natural-light setup shows a practical window, diffuser and reflector arrangement.
| Surface | What to compare |
|---|---|
| White | A frame with and without reflected fill |
| Silver | Highlight shape and intensity as its angle changes |
| Black | Shadow-side depth as reflected fill is reduced |
“A softbox or umbrella does not prescribe a contrast ratio. Assess the shadow edge and the brightness of the shadow side separately.”
Softbox or Umbrella?
Compare the actual modifier, position and illuminated area rather than expecting a fixed beam angle or lighting ratio from its name. Look at how much light reaches the background, how easily you can control spill and what shape appears in a reflective surface.
For a repeatable test, keep the camera and dish fixed, photograph one setup, then change only the modifier or its position. Record what changed. A useful setup is one you can explain and reproduce for the brief.

Studio Lights for Reliable Results
Artificial light gives you control over the source, but it still needs testing. Check the result after the modifier, at the settings and camera position you will use.
Choose for the Assignment
Continuous light lets you observe the illumination while working and can be used for still photographs and film. Flash needs a compatible triggering and synchronisation setup. Compare usable output after modification, power supply, physical size, supports and the work you need to make.
Colour-rendering specifications can help you compare lights, but a CRI threshold does not guarantee accurate food colour. Make a test with your actual camera, light, modifier and white-balance settings, and inspect the result. Regan Baroni compares artificial-light options for food photography.
| Light option | Practical checks |
|---|---|
| Continuous light | Usable output, colour tests, power, heat and suitability for film |
| Studio flash | Trigger compatibility, synchronisation, output and modifier support |
| Speedlight | Compatible triggering, output after modification and portable support |
Set the Direction, Then Check Reflections
Place the light where you can work safely, make a test frame, and assess the front of the dish, the background and any glossy surfaces. Move the source or camera slightly and compare. Changing a lamp’s colour temperature is not a general cure for unwanted reflections.
Control Unwanted Ambient Light
Identify which sources are affecting the plate. Where the venue permits, switch off or block an unwanted source and test again. If it must remain, decide whether to work with it or change the setup. Keep lighting adjustments compatible with service, guest access and the agreed brief.

Light Distance Effects on Food
Light placement changes exposure, apparent source size and the balance across the scene. Change one variable at a time to understand the effect.
Separate Brightness from Softness
Moving a light changes more than exposure. For the same finite source or illuminated diffuser, bringing it closer makes it appear larger from the subject and generally softens shadow edges; moving it farther away makes it appear smaller. This is different from changing how bright or dark the shadow side is.
Check the shape of highlights as well as the shadow transition. A close light is not automatically a texture setting, and a distant light is not automatically a soft-light setting.
| Change | What to inspect |
|---|---|
| Move the same source closer | Apparent source size, exposure and the shadow edge |
| Move the same source farther away | Apparent source size, exposure and coverage |
| Move a separate diffuser | Illuminated area, highlight shape and shadow transition |
Test the Lamp and Diffuser Separately
When using a separate diffuser, moving the lamp behind it and moving the diffuser relative to the dish are different changes. Check how much of the diffuser is illuminated and what that does to the photograph. We Eat Together demonstrates both distance tests in a food setup.
Record a Repeatable Setup
Keep the camera position and dish fixed during the comparison. Adjust exposure when needed so that a brightness change does not disguise the change you are evaluating. Record the source, modifier, positions and camera settings that produced the result.
| Keep fixed | Record the change |
|---|---|
| Camera position and dish | Source or diffuser position |
| Modifier being tested | Illuminated area and apparent size |
| A comparable final exposure | Highlight shape, shadow edge and background balance |
For glossy food or reflective tableware, evaluate the reflected source from the camera position. Change its position, shape or size and compare test photographs. There is no universal lamp-to-dish distance that removes glare for every arrangement.

Flags and Shadows for Contrast
Use flags to reduce unwanted light or reflected fill, while checking that useful detail remains.
Place a Flag for a Specific Problem
Begin with the photograph, then identify the area receiving unwanted light. Move a dark card or flag gradually and compare the effect. It may reduce reflected fill or block light from reaching part of the scene; check that it is not creating a new distraction or hiding useful detail.
Choose Suitable Materials and Supports
Use a stable, appropriately sized opaque surface and inspect it under the actual light. Material names alone do not establish a percentage of light blocked or a particular shadow softness. Secure the support and follow the light manufacturer’s clearance and ventilation instructions.
| Material or support | Check in the actual setup |
|---|---|
| Matte dark board | Opacity, stability and unwanted reflections |
| Flag fabric | Manufacturer suitability, mounting and clearance |
| Card and clips | Secure positioning, light leaks and access around the table |
Make a reference frame without the flag, then add one and compare. Keep only the changes that serve the dish and the intended mood. More contrast is not automatically a better photograph.
Build the Final Frame One Change at a Time
Light direction, apparent source size, reflected fill and flags work together. Use the photograph to identify the next adjustment rather than treating a particular tool, angle or distance as a guarantee.
Choose the Next Adjustment
These comparisons can help you decide what to test next.
| What you see | A useful next test |
|---|---|
| Texture is hard to read | Change light direction and compare |
| Shadow side is too dark | Try a white fill card |
| A reflection obscures the food | Change source or camera position and inspect its shape |
| The scene feels too flat | Compare without fill, or add controlled negative fill |
Practice with a Simple Dish
Keep the camera and subject fixed. Photograph a sidelit arrangement, then change only the light direction.
Return to the first position. Compare the frame with and without a white fill card, then with a dark card.
Test source or diffuser distance separately. Adjust exposure as needed and record the change in shadow edges and highlights.
For a menu or hospitality shoot, agree on the dishes, styling, intended crops and delivery requirements before the day. Allow time for preparation, plating and a test frame rather than choosing the lighting recipe in advance.
Food Photography Lighting Questions
Which Light Should I Start With?
Choose a source you can control safely in the available space. Window light, continuous light and flash can each be useful. Compare their practical limits against the photographs or film you need.
| Starting source | Question to resolve |
|---|---|
| Window light | Will its direction and intensity suit the planned session? |
| Continuous light | Is usable output sufficient at the chosen camera settings? |
| Flash | Is the system compatible, tested and practical for the space? |
Do I Need a Particular Window Direction?
Choose the window for the light it provides at your location, season and shooting time. Check direct sun, obstructions and changes during the session. A single compass direction is not a universal rule for every hemisphere or room.
How Do I Improve Food Colour?
Check unwanted mixed sources, use a consistent white-balance approach and make a test with the actual food and tableware. Review the result throughout the shoot; neither a colour-temperature setting nor a lamp specification alone guarantees the final colour.
Planning photography for a hotel, restaurant or food brand? Explore Latitude Frames photography and film services or discuss your shoot. For help preparing a brief, read how to choose a commercial photographer.